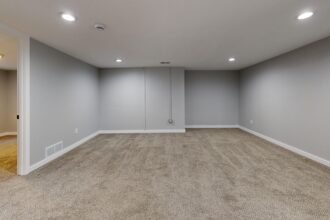
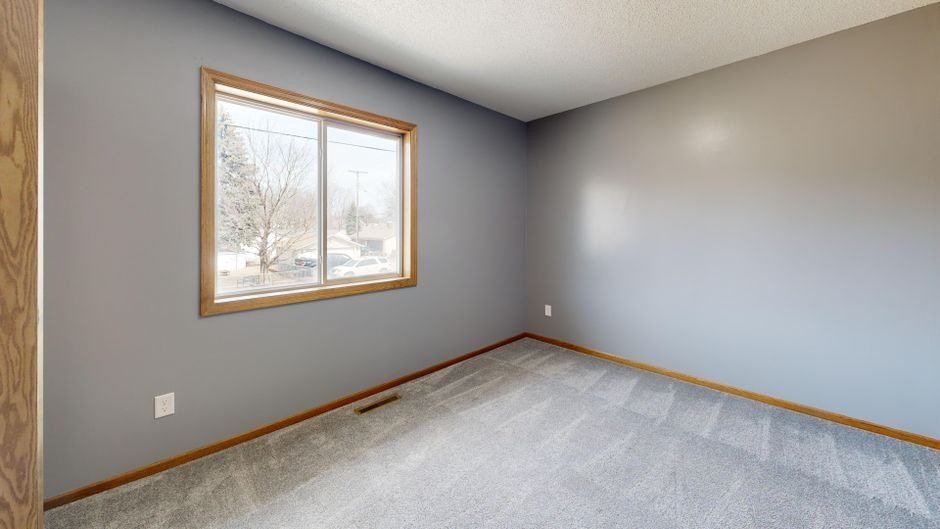
You can change the entire feel of your home with paint, but a quick color pick and a random Saturday rarely lead to great results. Good interior painting takes more than a roller and optimism. You need a plan that covers lighting, prep, finish, timing, and budget. If you handle those details early, your rooms look cleaner, brighter, and far more intentional instead of giving off strong “we picked this at the hardware store in 12 minutes” energy.
Know When Professional Help Makes More Sense
A simple accent wall is one thing. A full-home repaint with high ceilings, damaged drywall, and detailed trim is a very different beast. At some point, your time, tools, and patience have a value. If the job is large or the finish needs to be sharp, hiring help can be the smarter move.
For bigger projects, interior house painting services can handle wall prep, repairs, clean lines, and efficient application without the usual DIY surprises. That matters even more when you’re trying to match existing colors, cover problem areas, or finish multiple rooms on a schedule.
Professional painters also tend to catch issues early, like moisture damage, poor previous paint adhesion, or trim gaps that would otherwise haunt the final result. You’re not just paying for labor. You’re paying for cleaner execution and fewer do-overs.
Start With the Room’s Real Job
Before you even look at paint chips, think about how you actually use the room. A bedroom where you mostly sleep needs a different mood than a kitchen that gets constant traffic, spills, and late-night snack raids.
Ask yourself a few practical questions:
– Does the room need to feel calm, bright, cozy, or sharp?
– How much natural light hits the walls during the day?
– Will kids, pets, or guests put the space through daily abuse?
– Do you want the room to feel bigger or more grounded?
A soft warm neutral can make a living room feel welcoming without looking bland. A cooler tone may work better in a bathroom with strong daylight. If a room already has bold furniture, quieter wall colors usually help the space feel balanced instead of chaotic.
Test Paint in Real Lighting, Not Store Lighting
Paint colors can be sneaky. What looks like a clean beige under store lights can turn yellow at home. That elegant gray you loved online might read blue by evening. Paint never exists in a vacuum, and your lighting setup changes everything.
Test samples on multiple walls, not just one patch by the window. Look at them:
– In the morning
– In full afternoon light
– At night with lamps on
– Next to flooring, trim, and furniture
Leave the samples up for at least a full day or two. You’re not just choosing a color. You’re choosing how that color behaves in your space. South-facing rooms often make shades feel warmer, while north-facing rooms can pull cooler undertones forward. That tiny detail can save you from repainting a whole wall out of pure annoyance.
Choose the Right Finish for the Way You Live
Color gets all the attention, but the finish matters just as much. It affects durability, appearance, and how much every little wall flaw announces itself to the room.
Here’s the quick breakdown:
– Flat or matte: good for low-traffic spaces and hiding imperfections
– Eggshell: popular for living rooms and bedrooms
– Satin: easier to clean, often used in busier areas
– Semi-gloss: common for trim, doors, and bathrooms
– Gloss: bold and durable, but very revealing
If you have kids, pets, or a hallway that doubles as a bumper-car lane, a washable finish makes life easier. On older walls with dents or patchwork, a high-sheen paint may highlight every flaw like it’s on a stage. Function should win over trend every time.
Prep Work Decides Whether the Final Result Looks Professional
Most people want to skip prep because it’s boring. Fair enough. It’s still the part that separates a smooth, crisp result from walls that look rushed. Paint sticks better and looks more even when the surface is properly cleaned, patched, and primed.
Solid prep often includes:
– Removing dust, grease, and residue
– Filling holes and sanding rough spots
– Caulking gaps around trim
– Taping edges carefully
– Priming repaired areas or dark walls
If you’re repainting over stains, smoke damage, or a dramatic color change, primer isn’t optional. It helps with adhesion and color consistency. Good prep also reduces the chances of peeling, flashing, or visible patch marks later. Nobody wants a wall that looks polished from across the room and questionable up close.
Build a Budget That Includes the Hidden Stuff
A paint project can look cheap at first glance. Then the extras show up. Supplies, repairs, primer, extra coats, and touch-up materials can push the cost up fast if you didn’t plan for them.
Your budget should include more than just gallons of paint. Think about:
– Brushes, rollers, trays, and drop cloths
– Painter’s tape and sanding supplies
– Primer and caulk
– Ladder or extension pole needs
– Wall repair materials
– Cleanup and disposal
Also factor in the cost of your own time. If a project drags on for three weekends, the “money saved” starts looking less impressive. On the other hand, paying more for quality paint often means better coverage, stronger durability, and fewer maintenance headaches. Cheap paint has a habit of becoming expensive later.
Time the Project Around Real Life
Painting sounds easy until your dining room is covered in drop cloths for six days and the furniture is stacked like a storage unit. Timing matters more than people expect, especially if you’re painting key rooms you use every day.
Plan around:
– School or work schedules
– Ventilation needs
– Drying and curing time
– Pet and child access
– Holiday hosting or guests
A bathroom or kitchen repaint can be especially disruptive, so break the project into manageable phases if needed. It also helps to clear as much furniture and wall décor as possible before day one. That alone can shave hours off the process. The smoother the setup, the less likely you are to end up eating dinner surrounded by paint cans and mild regret.
Make the Color Work With the Whole House
One room doesn’t exist on its own. Even if each space has a distinct look, the home should still feel connected when you move from room to room. You don’t need every wall to match, but you do want a sense of flow.
A few smart ways to keep things cohesive:
– Repeat undertones across nearby rooms
– Use trim color consistently
– Limit dramatic shifts between connected spaces
– Balance bold rooms with calmer neighboring tones
Open floor plans especially need this kind of strategy. A deep green office can look amazing beside a warm neutral hallway, but only if the tones play nicely together. When in doubt, create a simple whole-home palette first. It gives you structure while still leaving room for personality.
Paint has a huge impact on how your home feels day to day. A little planning keeps the project from becoming a messy guessing game. If you treat color, finish, prep, timing, and budget like parts of the same decision, you’ll end up with rooms that feel intentional, practical, and much easier to live in.